Saturday, May 31, 2014

Power Poppy's June Release Day 4


Hi there!  I am so glad you could stop back by today for the final day of the sneak peeks for Power Poppy's June Release!  I hope you have been enjoying all that there has been to see and read....Marcella has really outdone herself this month....not only with jaw dropping beautiful images but also with some pretty spectacular Power Poppy blog posts about the new sets.  You should go check out what all she has been up to this week.  So enough with the chit chat, right?  I'll bet you are ready to see the last stamp set for the week....so here she is....or should I say, here they are....


A duo set....I know, pretty wonderful, right?  Marcella brought back the wildly popular images that were digis last month and now they are available in photopolymer as Dynamic Duos Peonies & Tulips....and to really make your mouth water, she's added new sentiments...eight to be exact!  So let me show you what I made with this fabulous set....


When I saw these wonderful tulips for the first time, one of the ideas I had was to make a card in pinks.  A couple of years ago, I had gone to the Atlanta Botanical Gardens for their Spring Bulb extravaganza they had going on and right at the front entrance was a wave of the most gorgeous tulips I had ever seen....they were a shocking pink...the variety was called "The Cure" and they were planted in honor of those that had been affected by breast cancer.  Ever since then, I have wanted to try to recreate those beautiful blooms.

I started by stamping my image with Tuxedo Black ink onto white card stock.  I will tell you...I colored this image a few times trying to get the color I wanted.  Once colored, I fussy cut the image out and then started on my card.  I used Spellbinder's Radiant Rectangles set....I love all of the intricate layer options it gives you.  I tinkered around with those for a bit and decided to have some layers cut and then emboss the others.  I used a bright pink card stock and sandwiched it in between my layers and the card base to make the border stand out more.  Of course, I could not leave out my trusty Krylon 18KT gold leafing pen...so a couple of the die cuts are edged in gold.  I did sponge a little Ranger Distress ink in Worn Lipstick on my sentiment oval, stamped my sentiment in Stampin' Up!'s Raspberry Ripple and then proceeded to assemble all of my layers.  I added a little pink ribbon  under the sentiment, notching out a little space in the oval so the bow could snuggle up good and close.  Then, when everything was either scor taped or popped up with foam dimensionals, I added my fussy cut tulips.  


Don't you just love all of that glorious detail in those tulips?  They were so fun to color and I know I will be using this set many time over.  Here is a little side view so you can see the layers a little better....


Well that is all for my little card.  I hope you enjoyed your visit here, but don't forget to check out what my amazingly talented Bloom Brigade team mates have created for your inspiration.  It will be an incredible floral display, no doubt!  And tune back in tomorrow, because the entire team will be together again for the Power Poppy Blog Hop, and you do not want to miss that!  Thanks so much for stopping by, and I hope to see you real soon....like tomorrow!  :)  Until then, take care!

Danielle Kennedy 
Julie Koerber 
Katie Sims <------You are here 
Tosha Leyendekker

Supplies:  Images-Power Poppy's Dynamic Duos Peonies & Tulips; Paper-white, cream, and pink card stocks; Ink- Memento's Tuxedo Black, Ranger Distress ink in Worn Lipstick and Antique Linen, SU!'s Very Vanilla Craft ink; Other-Spellbinders die set Radiant Rectangles, Krylon's 18KT Gold Leafing pen, Stampin' Up!'s Pink Pirouette taffeta ribbon, foam dimensionals, and these Copic colors:  YG61, YG63, YG67, YG91, RV21, RV23, RV25, RV29, R39, R81, R83, R85, Y32, V22, and V28

**On a personal note....this card is going to a very special lady.  I have mentioned before that a few of the ladies in my family have been fighting breast cancer.  This card is for my sweet cousin...she has been a true warrior throughout the entire process and continues to amaze all of us with her strength and courage.  KB- I love you and am so proud of you....you go girl!

Friday, May 30, 2014

Power Poppy's June Release Day 3


Well hello there!   Have you been enjoying the new releases from Power Poppy for June so far?  So many wonderful new stamps to play with....I know I have had a blast getting acquainted with them!  I love every single one in this new release and I know you will too.  So why don't we see what Marcella has drawn for us for today's release, shall we?


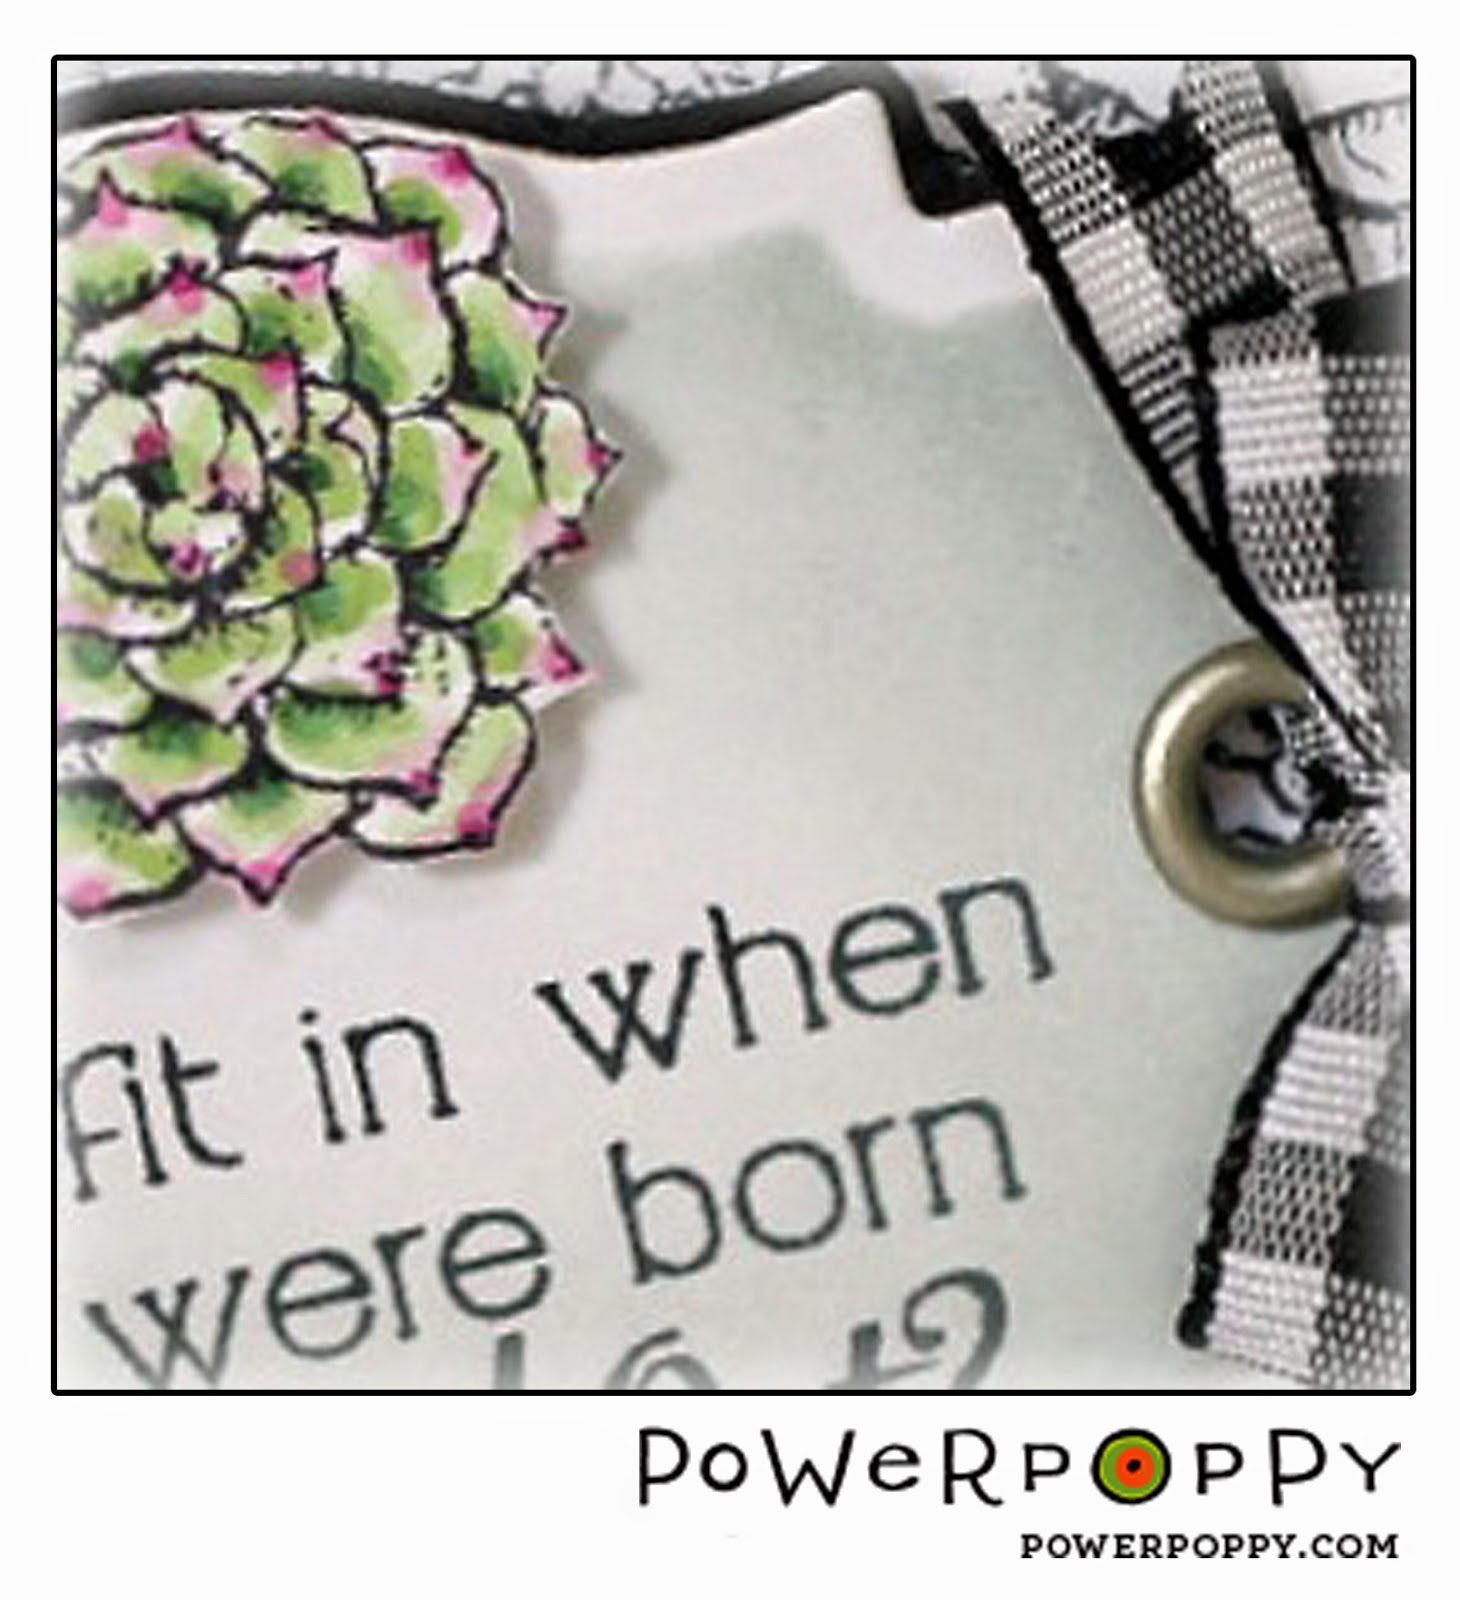
Hello, Pretty!  Isn't that the sweetest name for this set, Sassy Succulents?!  From the minute I saw this set, I was drawn to all of the intricate details and I don't think I have seen any succulent images out there so I was definitely intrigued!  The sentiments in this set are wonderful!  I selected one and kind of built my card around it....


As you can see, this is a pretty simple layout.  Isn't that sentiment awesome?  My mind immediately went to doing a black and white card so the little rosette could stand out.  She was so fun (and quick) to color!   I am definitely not a succulent aficionado, but I love the ones that are kind of variegated with blue-greens and purples.....so pretty!  She does "stand out"....don't you think?  I started by stamping my rosette with Tuxedo Black Memento ink onto white card stock, colored it with copics, and then fussy cut it out.  Next, I stamped that sweet sentiment onto some white card stock, die cut it out with Spellbinders Labels Eighteen die, sponged on some Ranger Distress ink in Iced Spruce, and added my eyelets.  I attached my colored rosette with a foam dimensional.  Next I used the Hen and Chicks image from the same set and stamped it in more black ink onto a white card stock panel in a random pattern taking care not to overlap too much.  I wanted the delicate details to be seen fully.  I used some black and white gingham ribbon to attach my sentiment panel to the black and white panel.  I framed this assembled panel with a die cut layer of black card stock using Spellbinders Labels Twenty Three.  I really thought the shape resembled the images...what do you think? I assembled the rest of the card and that, as they say, was that.


I really like how this turned out and I will definitely be turning to this sweet set again and again!  So, that is all for my project, but you really should check out all of the awesomeness that my Bloom Brigade sisters have created for you....they do not disappoint!  Also, if you haven't checked out the Power Poppy Blog, you really should....Marcella has some inspiration to share with you too!  I am so glad you could stop by today.  I'll be posting again tomorrow with Day 4 of the Power Poppy Release and it is something many of you have been wanting, I just know it!  Hope to see you back tomorrow....until then, take care.

Christine Okken 
Cindy Lawrence 
Danielle Kennedy   
Julie Koerber  
Katie Sims <------You are here 
Tosha Leyendekker 

~Katie

Supplies:  Images and sentiment-Power Poppy's Sassy Succulents stamp set; Inks- Tuxedo Black Memento ink, Ranger Distress ink in Iced Spruce, White Palette ink; Paper-white card stock, black card stock; Dies-Spellbinders die sets in Labels Eighteen and Labels Twenty-Three; Other-Embossing folder from Stampin' Up, black gingham ribbon, eyelets, 
Crop-a-dile and these Copic colors-G40, G43, G46, RV52, RV55. RV66.

Tuesday, May 27, 2014

Ready for a Little Power Poppy Sneak Peek?

Hi there everybody!  I hope you all had a wonderful weekend.....for us it was a wonderful, long weekend celebrating Memorial Day.  Summer is just around the corner...can you believe it?  AND...can you believe it is almost time for another Power Poppy Release?  I think you are going to be really happy with this next set of stamps....oh, the fun I have had coloring up these wonderful images.  There is something here for everyone this month and I absolutely cannot wait for you all to see!  Soooo, how about a little peek at one of my projects, hmmm?


Make sure you check out the peeks starting on Wednesday.  I will be joining up with everyone on Friday and Saturday and we will all be together for the big Power Poppy Hop on Sunday, June 1st!  As you can see, there are several days of Bloom Brigade inspiration before the Big Hop....OH....don't forget that on June 2nd the winners will be revealed from this past months' challenges!  Lots to look forward to....ooooo, I can't wait!  Have a great day, thanks for stopping by and I hope you'll come back for my project on Friday.  Take care and see you soon!

~Katie

Friday, May 23, 2014

Power Poppy's "Get Sketchy" Challenge


Hi there!  So glad you could stop by today!  Can you believe it is almost time for another Power Poppy Release?  It'll be here before you know it, but until then those crafty ladies at Bloom Central have been hosting a lot of fun challenges this month to give you an opportunity to win prizes!  Who doesn't love free stuff?!  This week it is a sketch challenge which is timely indeed!  Have you ever needed a little jump start for your creativity?  It happens to me all the time...I call it having a case of the "no-jo".  I can't think of anything any better than an awesome sketch to get those creative juices flowin' and do we have one for you!  Just take a look at this....


Isn't that a beaut?  You can check out all of the details over at the Power Poppy Blog.  Makes you wanna get all your crafty stuff out and go to town, doesn't it?  ;)  Well, let me show you what I created with this sketch and using the gorgeous Peonies digital image....


I kept pretty true to the sketch with one little adjustment...I only added one doo dad (my button) in the upper left corner.  That is the beauty of a sketch...it is for your inspiration, but you can modify it to fit your needs.  I started by resizing and printing my peonies, coloring them with Copics, and fussy cutting them out.  I also resized and printed my sentiment, which is from the digital image set Gladioli, to fit in the die I wanted to use.  Speaking of dies, I used a few from Spellbinders and I listed them below for you.  I also used a bit of patterned paper in a pink stripe as my background.  You have probably already spied the gold leafing around my oval....I really need to consider buying some stock in Krylon.  ;)  I used my two favorite colors of Ranger Distress inks to sponge a little color on my oval and sentiment...Antique Linen and Tumbled Glass.  I also used an embossing folder to give one of my layers a little texture.  Some pink taffeta ribbon strips, a button, and some string are the final elements for this card.  I did pop a few of the layers up with some foam dimensionals for a little added dimension.  The finished card size is 3 5/8" x 4 7/8".  


And here's wishing you a day as wonderful as you are!  I hope you found a little inspiration here, but you really must check out what my incredibly talented Bloom Brigade team mates have created for your inspiration...I am sure it will be swoon-worthy!  I hope you will play along with us...make sure you link up your creation 'cause we all wanna see and you wanna chance to win a stamp set of your choice, right?!  :)  One last little word....if you are still on the fence about using digital images, then you really should check out the incredible tutorials on the Power Poppy Blog.  Julie Koerber and Allison Cope have outdone themselves....seriously!  I can't wait to put in to practice what I learned and I just know you will love it too!  I hope you have an awesome day and I am so glad you came by for a visit.  Hope to see you soon....take care now!  ;)

Christine Okken 
Cindy Lawrence 
Danielle Kennedy 
Dawn Burnworth  
Julie Koerber 
Kathy Jones 
Katie Sims <------You are here
Leslie Miller  
Tosha Leyendekker

~Katie

Supplies:  Power Poppy digital sets  Peonies and Gladioli; Ink-Ranger Distress inks in Antique Linen and Tumbled Glass, Krylon 18 KT Gold Leafing pen;Paper-white and pink card stock, pink stripe patterned paper from My Mind's Eye Lost & Found Market Street 6x6 paper pad; Dies-Spellbinders' Classic Oval Small, A2 Matting Basics B, Labels Eight, Decorative Labels Eight, and Labels Twenty-Eight; Other-Pink Pirouette ribbon from Stampin' Up!, DMC floss, button from Papertrey Ink, Square Lattice Embossing Folder from Stampin' Up! and these Copic colors-R20, R21, R22, R24, R27, YG61, YG63, YG67, and YG 91

Saturday, May 17, 2014

A Happy Hello and Some Pretty Pink Gladioli...


Hi there.....long time, no see....right?  It has been a bit since my last post.  We have had some family medical issues that have kept me hopping lately and that left little time for anything else.  Fortunately, things seem to be improving around here and that meant that I had a day to play.....and I definitely needed some card therapy, let me tell you!  I have been itching to use Power Poppy's new Gladioli digital image....those blooms are g-o-r-g-e-o-u-s!


I went right to work sizing my Gladioli image in  Microsoft Word and printed it out.  I colored my image with some pretty Copic pinks from the RV family....they are bright, but then....so are glads!  :)  Using a few Spellbinders dies I layered some patterned papers and made my card base, did some stitching on the sewing machine (Added bonus...no more tension issues on the machine...I finally threw in the towel and took it to the repair shop and now it runs like a dream...Hallelujah!), die cut my image and sponged some ink on it and adhered my ribbon and button to my card panel.  Then, I printed my sentiment (which comes with this lovely image), die cut it out, sponged on some more ink and hit it and my image oval with my Krylon 18KT Gold Leafing pen....big surprise, right?  ;)  I layered my sentiment oval with some more patterned paper and then assembled my layers on my card base.  For the final touches, I used my Atyou Clear Spica Glitter pen to give some shimmer to some of the blooms and to a couple of the words in the sentiment and added some pearls.  This card is for a sweet friend that has a special love for and dear connection with Gladioli. I printed the image again in gray scale for the inside of the card but I forgot to take a picture of that before I had written my note in it!  


I am not sure if you can see the shimmer from the glitter pen in the close up, but I promise...it is there!  How about all of that lovely detail on this digital image?  Marcella really outdid herself on this one....it reminds me of my grandmother's garden.....every spring and summer her yard was alive with blooms and bursting with vivid colors from all of her iris, gladioli, daffodils, zinnia, snapdragons, petunias, hydrangea, bleeding heart, and many more.  Sweet memories!  Oh, here is a little tip for you...to get your image panel to squeeze in and lay nicely against your bow, all you need to do is use a small circle punch and notch out a little space...works like a charm every time!  :)

Well, that is all for my card today....I will be back soon with another project and then before you know it, it'll be time for another Power Poppy release!  I can just tell you know....you are going to love the new stamps!  :)  I hope you are having a wonderful weekend and I will be seeing you again, really soon!  Until then, take care!

~Katie

Supplies: Image and sentiment-Power Poppy's Gladioli digital image; Paper-white card stock, green card stock, patterned papers from  Carta Bella's "Beautiful Moments" 6x6 paper pad, Echo Park's "This & That" 6x6 paper pad, and Teresa Collins' "Fabrications" 6x6 paper pad; Spellbinders dies in Grand Ovals, Grand Scalloped Ovals, Classic Ovals-Large, and  Deckled Edge Classic Ovals-Large; Ink-Ranger Distress inks in Tumbled Glass and Antique Linen; Other-Ribbon from Michael's, Button-PTI, String, Krylon 18KT Gold Leafing pen, Stampin' Up! Pearls, SU! 1/2" Circle Punch,  and these Copic colors:  RV21, RV23, RV25, RV29, YG61, YG63, YG67, YG91, and G29.

Friday, May 2, 2014

A Little Power Poppy "Pinspiration".......

Hi there!  Have I got a hot tip for you!  How would you like to win the entire June Release?  Well, you are in luck then because one lucky person is going to get just that!  How, you ask?  Check out this post over on the Power Poppy Blog or what I affectionately call "Bloom Central"... :)  Happy pinning!  :)

~Katie


Thursday, May 1, 2014

Power Poppy's May Release Blog Hop


Hi there!  I am so glad to see you!  Today is the day that all of the Bloom Brigade give you another look at this month's release.....the Power Poppy Hop!  So pull up a chair and get comfy...


Can you believe all of the floral gorgeousness in this month's release?  I mean, seriously.....four days of perfectly drawn, beautifully detailed, amazing Marcella botanicals.....does it get any better than that?  Here's a little recap of the images from this release...


And Marcella made them available for a limited time as digital images so you didn't have to wait....you could own them the same day!  Really, how awesome is that?!  So today, I chose to use the Gerbera Daisy image again but I paired it with the sentiment from the Gladioli image set.  Those daisies are just so fun to color!


I decided to keep this card layout really simple, clean, and bright.....you know....fresh as a daisy!  :)   I used a blue and yellow color palette but I just had to add a pop of pink with one of the daisies.  My image was printed on the computer, colored with copics and then die cut with a Spellbinders die.  Then I printed the sentiment, die cut it with another Spellbinders die, sponged on some Ranger Distress ink in Antique Linen, layered it with a little blue card stock and added a couple of eyelets.  I used a blue card stock base panel, added my blue printed paper and stitched the borders on the sewing machine.  Then, I added the yellow gingham paper and added a little more stitching.  Next, I added my panel of Gerbera Daisies with some foam dimensionals and finally my sentiment using a little bit of yellow ribbon.  I adhered the entire assembled panel to a white card stock card base and for the final touch, added a sweet little button.  The finished card size is 4 1/4" x 5 1/2".


You can't really see it in the photos but I went back and added a little sparkle in the centers of the daisies with my Atyou Spica clear glitter pen....so just pretend, k?   They are shimmery, I promise!  ;)  So are you feeling the "fresh as a daisy" vibe?  And just like the sentiment...I am wishing you a wonderful day too!  I hope you have gotten some inspiration here, but you simply must check out what the rest of the Bloom Brigade has in store for you!  There'll be more blooms on display at this hop than at the Rose Bowl Parade!  :)  So go enjoy and then, if you haven't already, go grab your own images in the Power Poppy Store.....remember, these are only around for a limited time so grab 'em while you can!  I am so glad you stopped by today and I'll be back soon with another Power Poppy image to share.  Until then, take care!

Christine Okken 
Cindy Lawrence 
Danielle Kennedy 
Dawn Burnworth  
Dina Kowal <------Look who's back to hop with us again!  :)
Julie Koerber 
Kathy Jones 
Katie Sims <------You are here
Leslie Miller 
Stacy Morgan 
Tosha Leyendekker 

~Katie

Supplies:  Images-Gerbera Daisies and sentiment from Gladioli digital sets from Power Poppy; Dies-Spellbinders' Labels Twenty Eight and A2 Matting Basics A sets; Ink-Ranger Distress Ink in Antique Linen, Stampin' Up! ink in Whisper White; Paper-Blue card stock, patterned papers from My Mind's Eye "Follow Your Heart-Be Amazing" 6x6 paper pad; Other-button, eyelets, ribbon, string and these Copic colors:  E40, E42, C2, C4, YG01, YG11, YG13, YG17, YG91, Y11, Y13, Y15, Y17, Y18, Y19, Y26, YR30, YR31, R30, R32, R35, R37, R39, E35