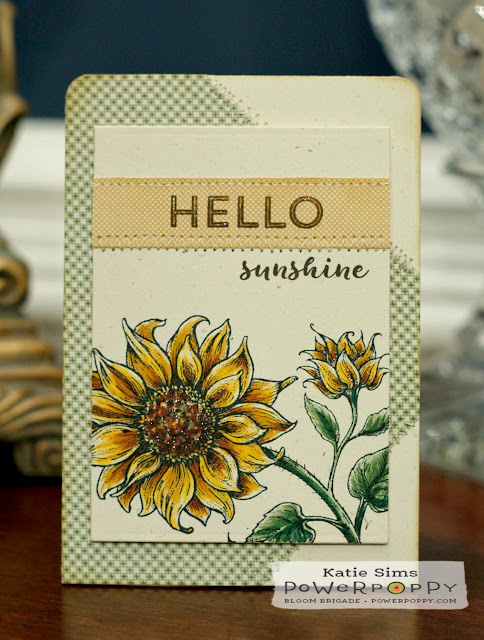
Hi there and a very Happy Friday to you! This month over on the Power Poppy blog, Marcella has been throwing challenges around right and left to get our creative energy a'flowin'...instead of one big Power & Spark Challenge that little genius came up with a few mini "Sparklette" challenges....how cute is that?! I just love that girl! :) I thought I would play along with this latest one..."Color Outside the Lines". If you have not had a chance to check these out, you really should....good stuff for sure!
Now, I have to warn you....this was a true challenge for me because I have really never been a color outside the lines kinda girl. That beautiful free form sort of coloring style has always escaped me...hence my strained relationship with water colors. I love the effect it gives but it has just not been a technique that I have achieved. Sooo, after I made a couple of attempts that ended up looking pretty much like a bad kindergarten project I decided to try a different view point....literally! I took off my glasses which totally blurred the borders of the image and colored away. A girl has gotta do what a girl's gotta do! I was going for a loosely colored, almost watercolor effect, to my image....I don't think I quite got there but I did go back with a W1 Copic and added some outside the lines shading around my image.
To go along with my new found carefree coloring vibe, I did not keep up with the copic marker colors I used so I will not be able to note that below this post as I usually do...sorry about that! I was living in the moment....hee! I can share that the card is a simple image layer die cut with Spellbinders A2 Matting Basics A set, a green background layer and my card base, which measures 3 1/2" x 4 5/8". I stamped my image from the Olive and Oak Expanded stamp set with Memento's Rich Cocoa ink and the sentiment from this same set in Papertrey Ink's Cocoa Bean ink. I used Ranger Distress Inks in Peeled Paint and Antique Linen to sponge some ink around my image and then I used a Stampin' Up! spritzer tool and markers in Early Espresso and Old Olive to add some spatter marks. To finish off the card, I added some shine with my clear Wink of Stella brush pen and then added some Ranger Glossy Accents to a few of the acorns and olives for some subtle dimension.
I think that sentiment is so adorable with the mixed fonts and Marcella's dreamy oak and olive image is just the thing to put you in a fall frame of being, don't you think? :)
So that is all for my little card today, but I am sure that my Bloomie sisters have some incredibly beautiful cards to share with you today so go see....and leave them a little blog love while you are there! And hey, why don't you give this great Power Poppy challenge, or any of the others this month, a try and play along with us? There is going to be a prize awarded so what are you waiting for? :) Thank so much for stopping by today and I hope to see you again soon....until then, take care!
Julie Koerber
Katie Sims <------You are here
Stacy Morgan
Tosha Leyendekker
~Katie


